Well it has been quite some time since my last entry.. Moved out of CA and up to Oregon, which was a big deal!
Now that I am settled into my home, I have for the first time in my life a designated sewing room! It is so amazing to have a space that holds, most of the fabric stash, some of the plethora of sewing and knitting patterns along with my embroidery and needlepoint stash. ( And the UFO's as well as the ever growing yarn stash:) )
I have rearranged the furniture in the room many times, but it is in it's final arrangement! photo coming in the future..
I have been working on and of with a variety of sewing and knitting projects.
BUT I have finally started a project that I have been wanting to do for the longest time!
I bought this gorgeous French blue linen shirt, when I was still living in CA. I adore the color, and yet it never has ever fit me correctly. I found this top at my local beloved Goodwill, which honestly was my favorite place to find all kinds of wondrous things.
What inspired me was one of my knitting friends, in CA. She is an amazing knitter who makes the most beautiful shawls!! Lisa, you are incredible!! She had some beautiful silk blouses, that she had transformed into some gorgeous scarves. She was the one to inspire my latest project- to finally refit this Eddie Bauer shirt so it fits me properly.
So, the last time I was perusing patterns online, I found the perfect pattern.

Well, I had to do this finally so I carefully had taken out all of the seams, so that I could press each part of the top carefully.

After I had fitted the bodice front with an FBA, I also did a swayback adjustment on the back. Then I did end up having to piece the bodice, as you can see below. I am happy that it worked!


Since, the pattern collar was just too large and I was running out of fabric, I decided to stay with the original collar.


With this finished, the hardest part was straightening the bodice fronts together ( it's a very wiggly linen) and pinned the heck out of the two pieces together. Then and only then was I able to pin the pattern onto the two bodice fronts. It did take quite a few pins, I will not lie!

The other pieces were easy as pie to pin and cut out.
The fabric is extremely and profusely ravelly ( is that a word?) so I had to be tenacious about sewing the seams. I had enough fabric left over after lining the sleeves to make lots of bias strips! That is how I was able to finish off the shoulder seams as well as the top of the facings that were to be attached inside of the shirt.


The first part that I decided to sew were the lined sleeves. Since I had a quarter of a meter of this lovely tana lawn, I decided to use it for the lining as well as any finishing work that needed to be done.
Tackling the next part was not too difficult- sewing the darts that I had made and then adding the collar to the neckline. ( Honestly I have not sewn this style of collars in over thirty years.) Pretty pleased with how it turned out.


Then onto the side seam. this was not the easiest, but I hand basted with silk thread that I use for hand sewing. Trued it up with using a sliver of soap, then machine basted it. So now that it is almost right, I still needed to read the wrinkles so that I can re sew the side seams. I had already done the top stitching at the shoulders and was playing "chicken" with the thread I had on the machine.. I was cutting it a little too close for comfort!!

Here is a photo of the tip I decided to use from Katherine Breene. I found it on a search for flat felled seams. I did find some fun videos that showed how to make a flat felled seam. I am quite happy with how the flat felled seams turned out! The first is my sample.
The basted side seam with the flat fell seam added.


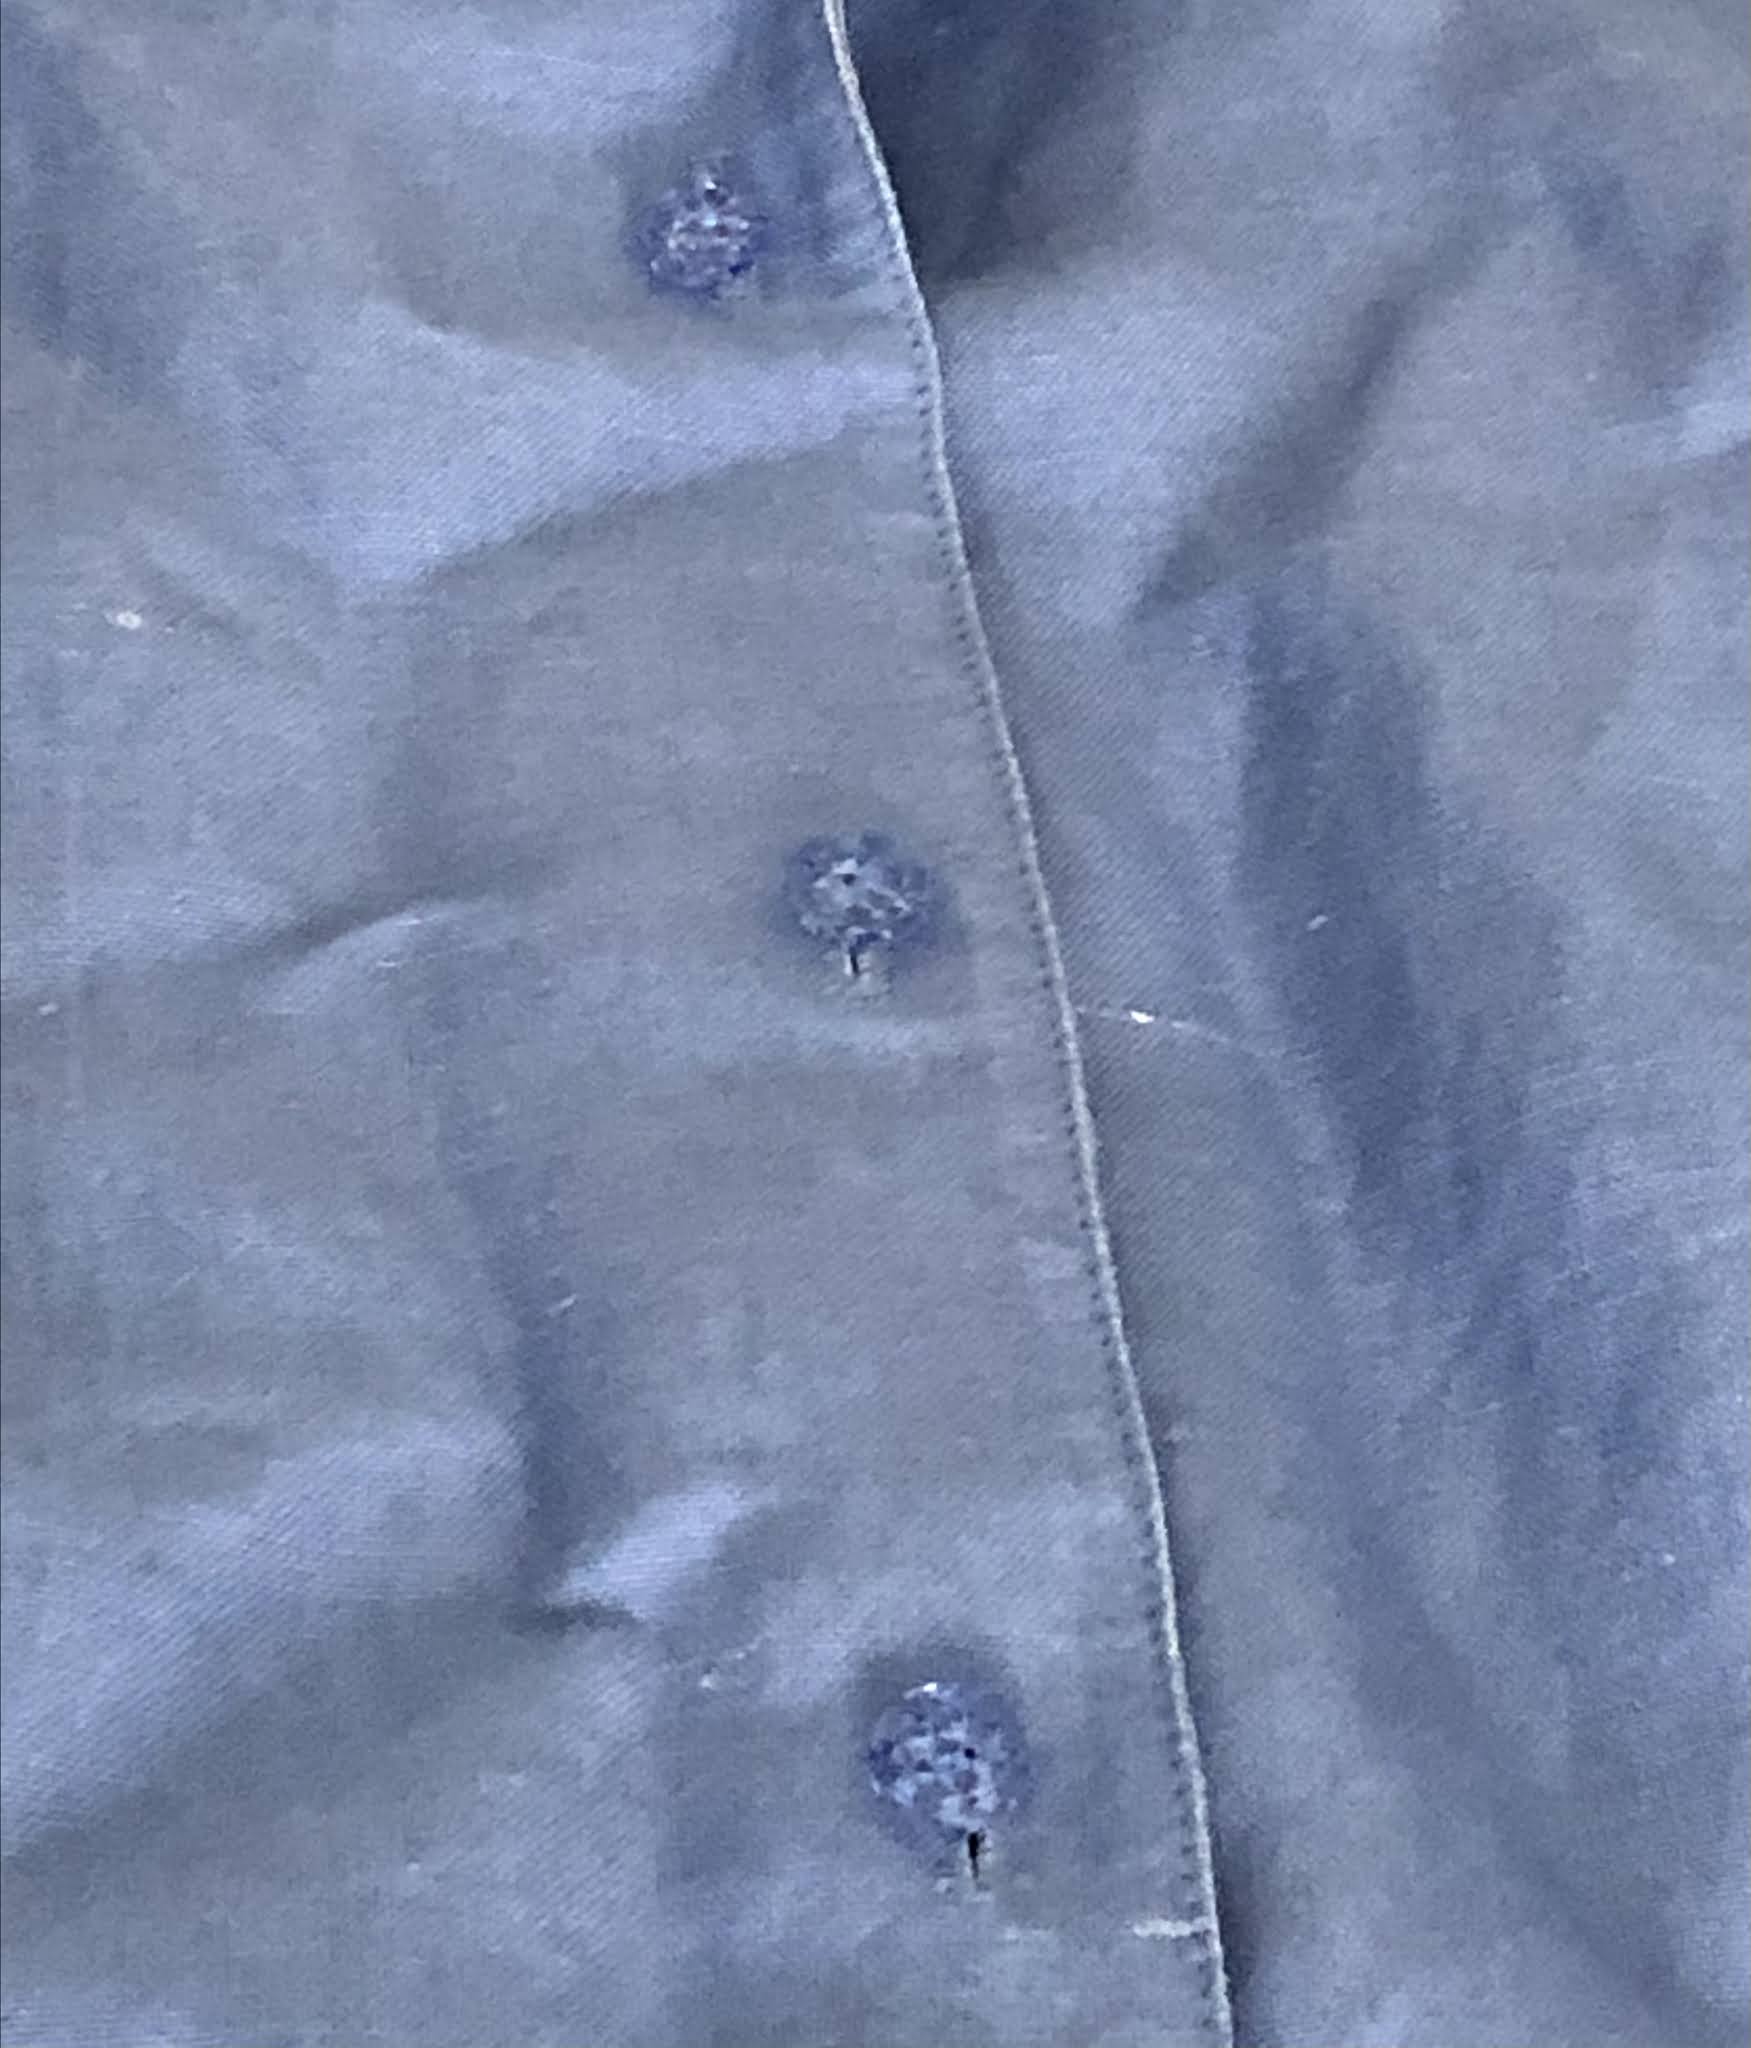
Finally it's time to attach the sleeves.. It was a breeze! Yowza! Final touches are to add the beautious jewels of the most perfect buttons..


No comments:
Post a Comment